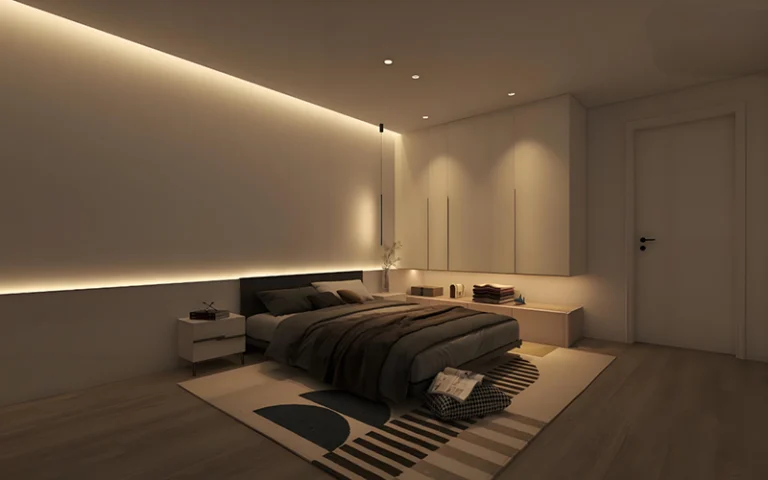
How to Cut, Connect, and Install LED Strip Lights?
LED strip lights are a customizable, cut-to-length lighting solution. So they work well for applications of all sizes. Whether you want to add color to your living room, illuminate your kitchen countertop, or create mood lighting for your office. LED light strips can easily adapt to your needs. However, many people have questions about how to properly cut, connect, and install LED strip lights.
In this article, we’ll teach you everything you need to know about successfully install LED strip lights, including how to cut and connect them, installation best practices, and tips for choosing the right LED light strip for your space.
Can I Cut LED Strip Lights?
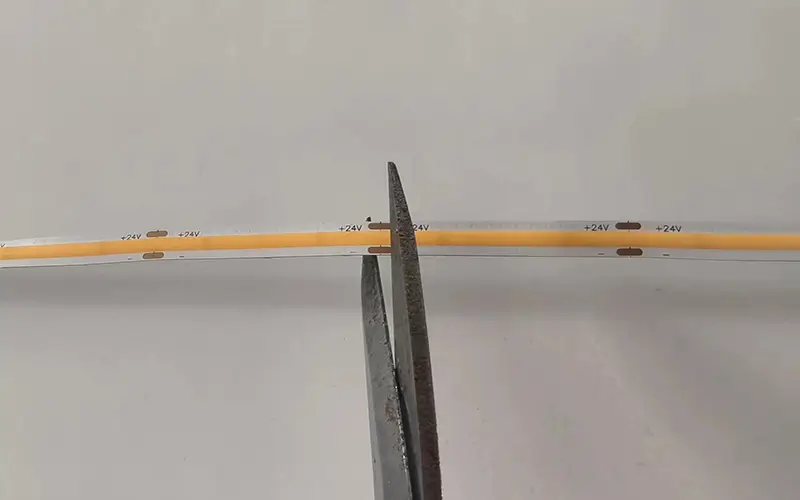
Yes, most LED strips can be cut. How do we know where and how to cut correctly? LED strips come with designated cutting points, usually marked with a small line or scissor symbol. These points are usually arranged at regular intervals, ensuring that you only cut where you will not damage the circuit. More details, pls read Can I Cut, Reconnect & Install LED Strip Lights?
Before cutting the LED strip lights, be sure to disconnect the power supply in advance to avoid electric shock. When cutting, use sharp scissors or a utility knife to ensure a clean cut, which will help maintain the integrity of the strip’s circuit. Remember that cutting in the wrong place may cause damage to the strip or reduced functionality.
Can I Connect LED Strip Lights Together After Cut?
Yes, we can connect the cut LED strips together. However, joints and soldering are required to ensure the connection is secure and the light works properly.
LED strips are usually 5 meters (sometimes longer), but if you need to extend the strip or cut it shorter for installation, you may need to connect two or more strips. We can use the connectors or soldering the wires together, whichever you find more convenient.
How Do I Connect Cut LED Strip Lights Together?
There are two main ways to connect LED strips: using connectors or soldering the strips together. You can refer to which one is more suitable for you. For how to connect LED strip, pls check How to Reconnect Cut LED Strip Without Connector?
Using Connectors
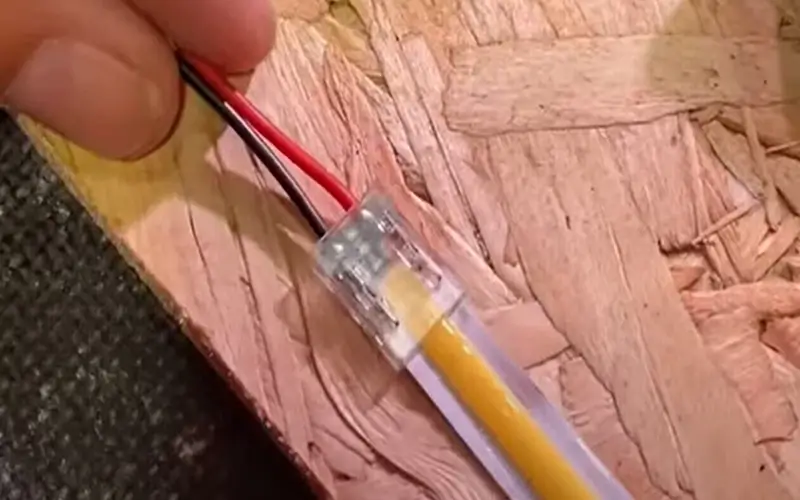
LED strip connectors are a quick and easy way to connect strips without soldering. These connectors will for non-waterproof LED strips. If the LED strip is waterproof, soldering is a good choice.
LED strip connectors have different uses. There are connectors with power cords and connectors that can be connected to PCB boards. Usually, they are distinguished and selected by the width of the board. So make sure to choose a connector that is compatible with the width of the strip.
- Steps to use connectors:
- Choose the correct connector that you need and make sure the width is compatible.
- Align the end of the LED strip so that the copper pads align with the pins of the connector.
- Insert the end of the LED strip into the connector, making sure the copper pads are fully inserted.
- Snap the connector in place and make sure it is securely fastened.
- Once connected, plug the power supply into the connector and test the strip.
Soldering
Soldering provides a more permanent connection, but we recommend it for someone with experience working with electrical appliances. The solder makes for a cleaner, more durable connection.
Soldering is ideal if you are dealing with longer strips or waterproof LED light strips. So if it is possible, soldering the cut LED light strips is the first choice.
- Steps for soldering:
- Cut the LED strip lights at the cutting points.
- Strip the insulation off the wires to expose the copper.
- Solder the positive (+) and negative (-) wires from one strip to the corresponding wires of the next.
- Use heat shrink tubing or electrical tape to insulate the soldered connections.
- Test the connection by plugging in the power supply.
How Do I Install LED Strips?
After cut and connect LED strip lights, the proper install is very important and is the key to ensuring that LED strips operate effectively and safely. Before installation, be sure to confirm the location of the LED strips and ensure that the surface on which they are installed is flat and quiet. This will prevent the LED strips from falling down after installation.
Some general steps for install LED strip lights
- Clean the surface: Clean the area where the LED strip will be mounted. You can use a mild detergent to remove any dust, grease, or dirt on the surface. This will ensure that the adhesive backing adheres well.
- Measure the mounting area: Measure the space where you want to install it. This will help you cut the strip to the right length and avoid cutting it too short.
- Cut the strip: If you need to cut the LED strip, you will need to cut them at the designated cutting points.
- Remove the adhesive backing: Most LED strips come with an adhesive backing that allows you to stick the strip directly to the surface.
- Use mounting clips: If you need additional support or the surface is not suitable for adhesive, use mounting clips or LED profiles to secure the LED strip.
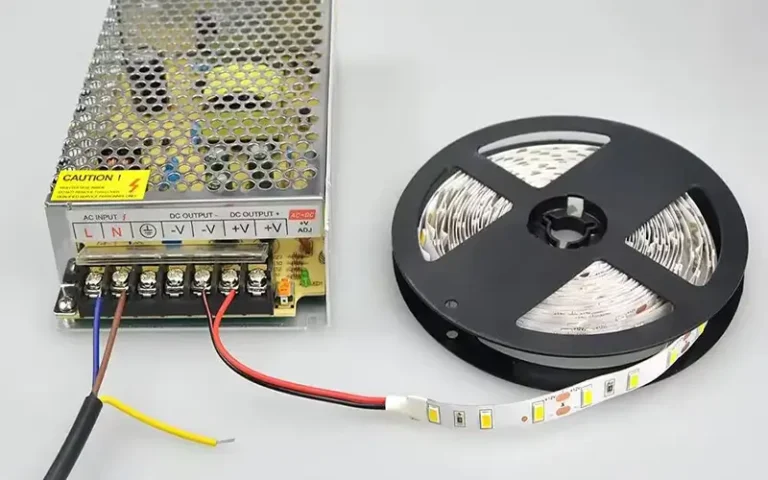
- Connect the power supply: After installing the LED strip, connect it to the power supply. Make sure the power supply is rated for the correct voltage and wattage to avoid damaging the strip.
What Should We Pay Attention to When Installing LED Strip Lights?
During the installation process, we also need to pay attention to some details. For example, the wiring and wiring errors of LED light strips can cause the light strips to malfunction and may also cause electrical hazards.
- Choose the Right Power Supply: Be sure to choose a power supply that matches the specifications of the LED strip (e.g. 12V or 24V). The power supply is critical to ensure that the LED strip receives the correct voltage and current.
- Wiring the Strips: Whether using connectors or soldering connections, pay attention to the positive and negative poles of the LED strip. Make sure the positive (+) and negative (-) terminals are properly matched to avoid incorrect polarity.
- Use the Correct Gauge Wires: Try to choose thicker wires to reduce the voltage drop a bit to ensure the current is transferred correctly.
- Sufficient Power Supply Wattage: Make sure the power supply can handle the total wattage of all connected LED strips. Exceeding the power supply capacity may cause overheating or failure.
- Check for Short Circuits: Before powering the LED strip, visually inspect the wiring for any potential shorts, such as exposed wires that may be touching each other.
How to Choose the Right LED Strip for Your Project?
1. Choose the Color: Determine the Light Tone and Effect
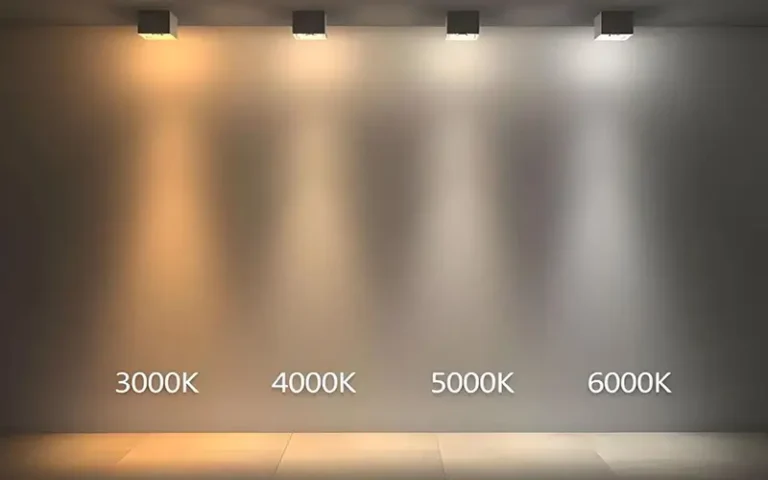
- Warm White&White Light: White LED strips come in different color temperatures, such as cool white (above 6000K), warm white (2700K-3000K). Choose based on the ambiance you wish to create.
- Colored Lights: If you want to add vibrancy or create special effects, you can select LED strips in red, green, blue, or other colors.
- RGB LED Strips: RGB strips allow you to change the color of the lights and are perfect for creating mood lighting or special effects. These strips are ideal for spaces that need dynamic color changes.
- RGBW LED Strips: These combine RGB color-changing features with the addition of white light. They give you the flexibility to enjoy both colorful effects and high-quality white light at the same time, making them perfect for spaces that need both decorative and functional lighting.
2. Choose the Brightness Level
LED strips are usually rated in terms of their wattage per meter, which directly correlates to the brightness of the light. The appropriate brightness level depends on your intended use:
- 5W per meter: Suitable for background or accent lighting, such as under cabinets, along edges, or in spaces where soft, ambient light is desired. This wattage provides a subtle glow without being too overpowering.
- 14W per meter: Ideal for main or task lighting, especially in areas that require stronger illumination like kitchens, offices, or workbenches. These strips provide brighter light, which is necessary for activities that require focus.
Selecting the appropriate brightness ensures that your lighting is both functional and energy-efficient.
3. Choose the Power Supply
LED strips typically operate on either 12V or 24V DC power. The choice of power supply depends on the length and power requirements of your LED strip:
- 12V Power Supply: Ideal for short runs and small installations. It’s commonly used for smaller strips or applications with lower power requirements.
- 24V Power Supply: Better suited for longer LED strips or installations that need higher power. 24V systems provide more stable power over longer distances and help reduce voltage drop, ensuring consistent brightness across longer runs.
Make sure to choose the appropriate LED driver to ensure that the strip receives a stable and sufficient power supply.
4. Dimming Functionality
It is best to choose LED strips with dimming capabilities, as the dimming feature allows you to adjust the light intensity. It is important to choose a compatible dimming power supply or dimmer. This gives you the flexibility to create the perfect lighting for different occasions.
- Single-color or white LED strips: Use a compatible LED dimming power supply or dimmer switch to adjust brightness levels.
- RGB and RGBW LED strips: These LED strips allow for color change, but you may still need a dimmer to adjust brightness levels.
Depending on your mood during the day, you can choose to brighten or dim the light. This allows your mood to change with the brightness.
5. Customize Colors and Effects
If you choose an RGB or RGBW LED strip, you’ll need an LED color controller to change the strip’s colors and effects. An LED controller doesn’t just allow you to switch between colors. You can also choose preset lighting effects like blinking, fading, or color transitions.
- With a color controller, you can select solid colors (like red, green, blue) or cycle through different hues.
- Many controllers also come with preset modes, such as “party mode” or “holiday mode,” perfect for special occasions.
Make sure to choose a right LED controller that is compatible with your chosen LED strip to ensure seamless operation.
6. Installation Method
Our flexible LED strips come with 3M self-adhesive backing, making installation quick and easy. You simply peel off the protective layer and stick the strip to clean, dry surfaces.
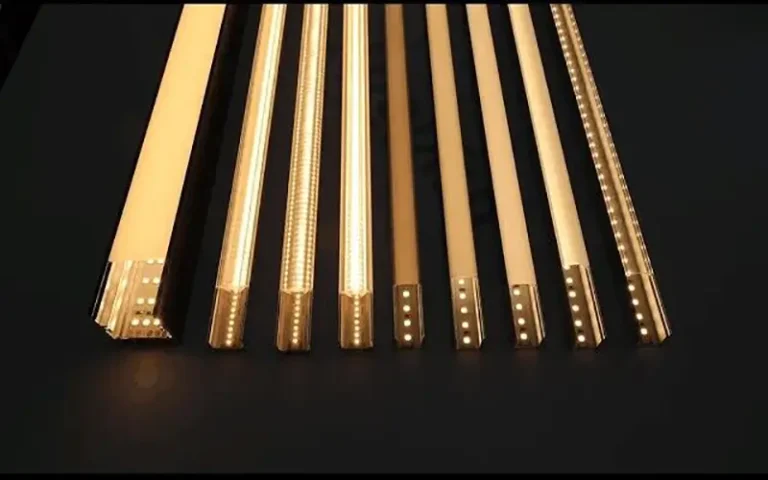
And you also can choose the LED aluminum profile with mounting clip.This can better fix the LED light strip and prevent it from falling off.
Conclusion
From cut, connect and install LED strip lights to ensuring the wiring is set up correctly, each stage is crucial to achieving a safe, functional and long-lasting installation. At ESSENLED, we specialize in providing high-quality LED strips and IP67 neon flex.
Durable, efficient and versatile, these strips and neon lights are suitable for all types of installations. Our products come with a 5-year warranty, ensuring your investment is protected. Whether you are looking for custom PCB boards, superior product quality or excellent customer service, ESSENLED can meet all your lighting needs.


