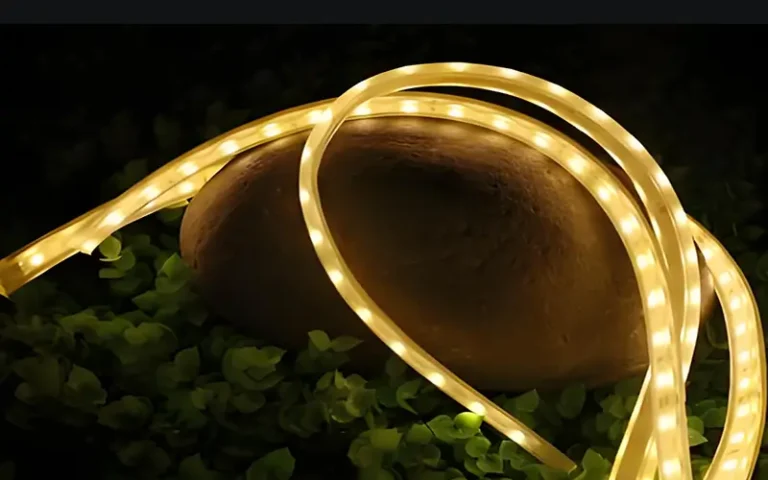
How to Connect COB LED Strip?
This article mainly introduces how to connect the COB LED strip, and guides the steps of cutting, connecting, and soldering the COB LED light strips to ensure smooth installation and optimal performance.
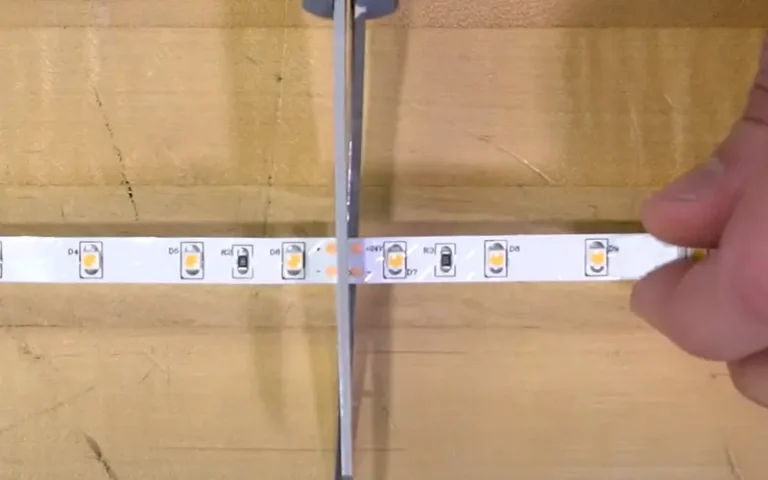
How to Cut COB LED Strip?
Before cutting COB LED strips, you can cut them to the required length.
Measure the length
Determine the exact length you need and measure the strip accordingly.
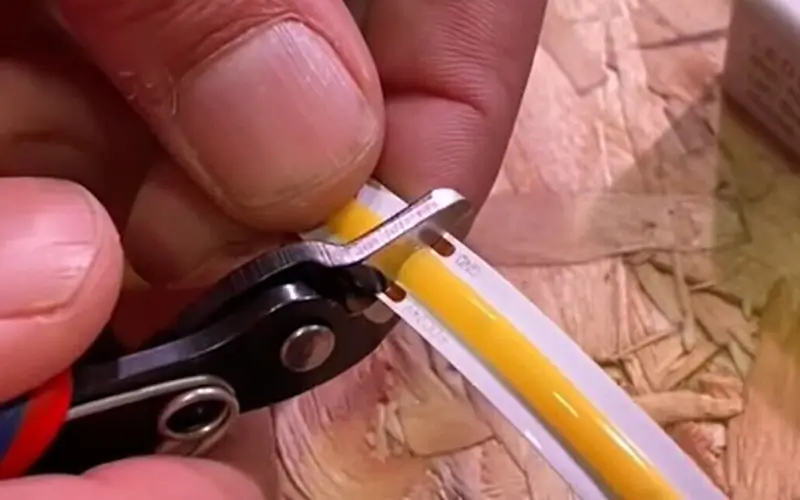
Find the cutting place
COB LED strips have designated cutting points, which are different for 12V and 24V.
Align the cutting line
Place the COB LED strip on the cutting mat and use sharp scissors to make a clean cut. Don’t cut it crookedly, as this may also cut the loop and you will lose a section of COB LED.
How to Connect COB LED Strip After Cutting?
After cutting the COB LED strip, you get the right length for installation. But what should we do with the cut COB LED strip? There is no power cord on it, how to connect the power supply? Or if you want to connect the cut COB LED strip to another pcs of COB strip, how should we deal with it?
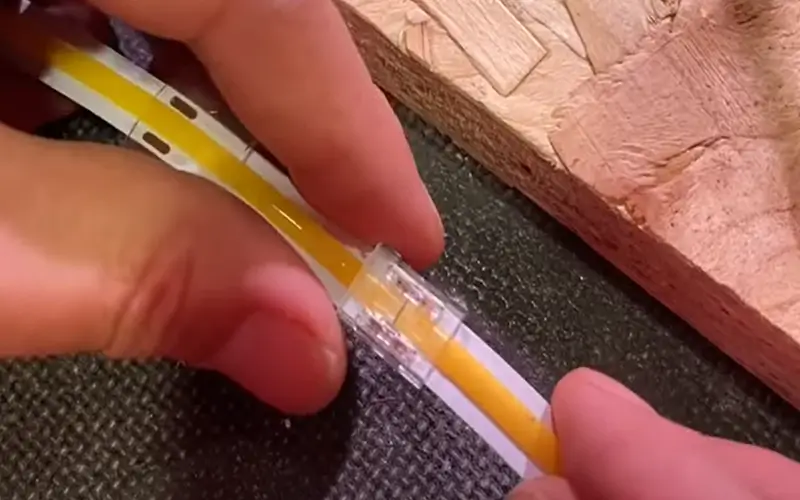
How to Connect Two COB LED Strips Together?
Connector
First, find a connector that fits the board width, and then insert the two COB LED strip segments into the COB LED connector.
Align the positive and negative poles, and make sure the metal sheet of the COB LED connector is aligned with the strip solder joints. After connecting, you can power it on to test whether the COB LED light strip can light up.
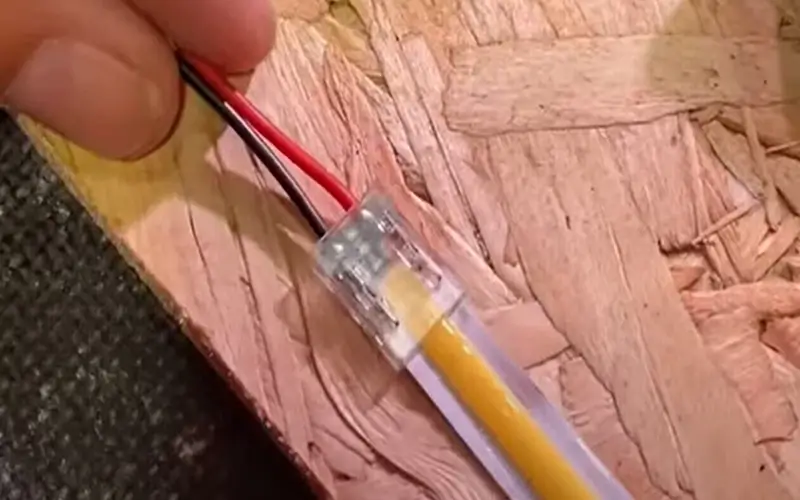
Soldering
Prepare the two COB LED strips that need to be welded, confirm the positive and negative poles, and weld them together.
How to Soldering COB LED Strip?
Step 1. Prepare soldering items: soldering iron, COB led strip, led power supply, a bare wire, and tin.
Step 2. Heat the soldering iron tip.
Step 3. Add tin to the bare wire, align the bare wire with the solder joint of the COB led strip, and use a soldering iron to heat the tin and solder joint of the bare wire to melt and combine.
How to Choose the Right Solderless COB LED Connector?
Choosing the right connector is crucial for a reliable connection. Here are the factors to consider:
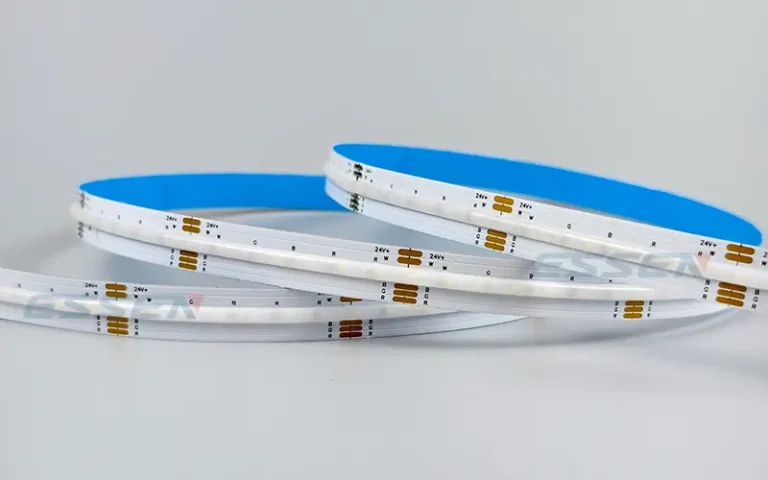
- Color temperature: COB LED strips with different color temperatures have different numbers of wires. For example: a two-pin connector: is for single-color LED strips, while a five-pin connector: is for COB RGB+W LED strips.
- Compatibility: Make sure the connector is compatible with your COB LED strip type and width.
- Connection type: There are various types of connectors, such as angle connectors, straight connectors, and T-connectors. Choose one based on your installation needs.
Summary
Connecting COB LED strips involves cutting, connecting, selecting the appropriate connectors, and powering the strips. Whether you are improving your home or setting up commercial lighting, COB LED strips series offer a versatile and efficient solution.
FAQs
You can connect COB LED strips together using solderless connectors or soldering strips. Connectors are simpler and more convenient. Soldering provides a more durable connection. Make sure the strips are properly aligned and securely connected.
Yes, you need to cut it at a specific location and then use the appropriate connector or solder the two ends together to ensure a seamless connection.
Yes, COB LED strips provide waterproof connectors. However, we recommend soldering and then sealing the cuts with silicone to ensure stable waterproof performance.
No, because regular connectors and COB LED strips are not compatible. We recommend using connectors designed for COB LED strips to ensure a correct and secure connection.