Can you Cut LED Strip Lights?
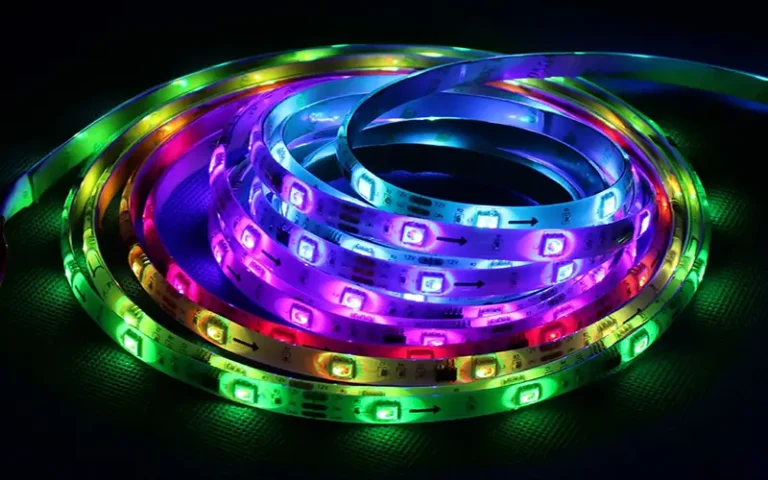
Can you cut LED strip lights? Conventional LED strips come in a fixed 5m per reel. Different projects require different lengths of LED strips, so it’s not always possible to buy the right length, so we often have users ask if the LED tape can be cut to a fixed length.
However, if your LED strip lights is too long or doesn’t fit perfectly in the space you need, then we need to cut the LED light strip. This guide will walk you through all the information on cutting and reconnect your LED strip lights and how to use them effectively afterwards.
How to Cut LED Strip Lights?
Before cutting the LED light strip, you need to make sure that the LED strip lights you bought can be cut. Otherwise, cutting the LED light strip may make it unusable. Before cutting, be sure to disconnect the power supply. If you directly cut the LED tape connected to the power supply, there will be safety issues.
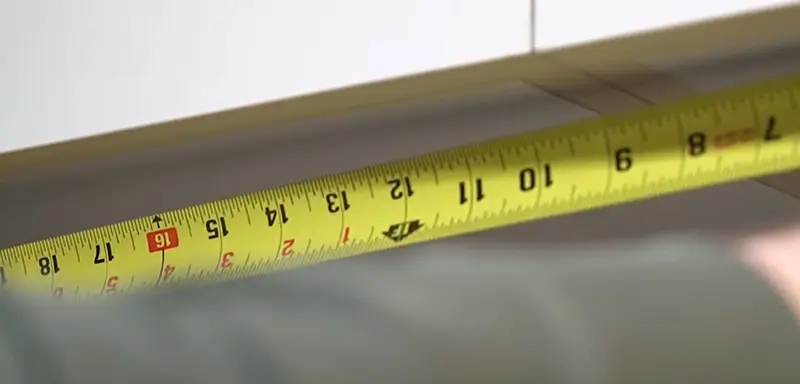
Step 1. Measure the length
First, measure and plan the area for installation(indoor or outdoor), but you still need to order more because there are corners to consider. This can help you order the exact length of the LED light strip you need.
Step 2. Cut the LED strip lights
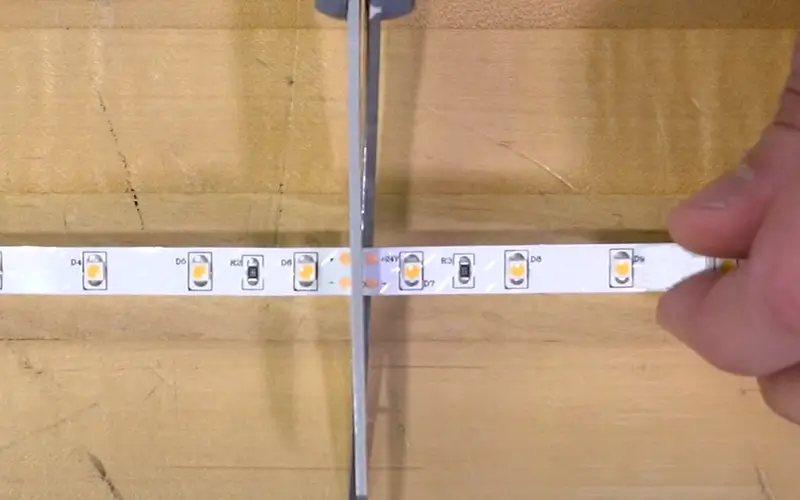
Each LED light strip has a different cutting point. Even for the same LED light strip, the cutting length of 12V and 24V is different. Users need to cut the excess light strip along the position marked by the scissor logo. If you accidentally cut it diagonally, it may cause the light to stop working, so make sure to cut it straight.
How to Reconnect LED Strip Lights When Cutting?
Once you have successfully cut the LED strip, you will need to reconnect the cut LED strip. Follow these steps:
Using LED Strip Connectors
LED strip connectors are the most convenient and simple way to reconnect a cut strip. But connectors come in many forms, such as clip-on or push-on connectors, and are designed to match the width and type of your LED strip. Also, pay attention to whether you need LED strips to connect to LED strips, or LED strips to power cords.
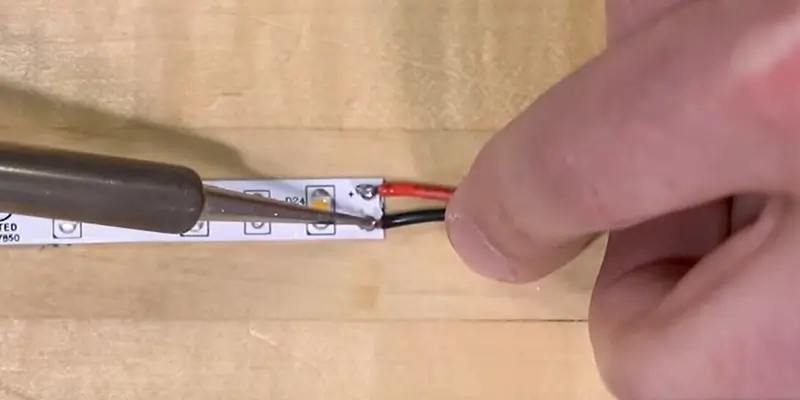
Soldering Wires
In the case that you don’t have connectors, you can choose to solder the LED strips yourself. This is a more durable and reliable connection, please solder the wires between the cut sections. This method is particularly useful for custom installations where connectors may not fit.
Using Electrical Tape and Heat Shrink Tubing
For extra protection, wrap the connections with electrical tape or use heat shrink tubing. This will help prevent any potential shorts and provide a neater look.
How to Install LED Strip Lights After Cutting?
If it is cut normally, the cut LED light strip can be cut to a specific length and continue to work. However, the cutting must be done according to the cutting mark. If you accidentally cut the wrong place, it may cause the light to stop working properly.
After connecting the cut LED strip lights, you can follow the steps below to install the LED light strip and use it normally.
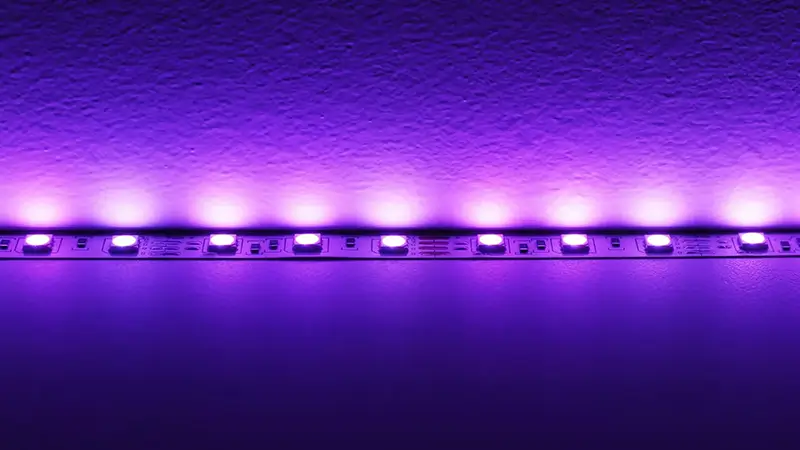
Step 1. Keep the surface dry
You first treat and clean the surface where the LED light strip is installed. If the wall is dusty or wet, the LED light strip cannot be installed correctly. It may also cause the LED light strip to fall off.
Step 2. Paste the LED light strip
After cleaning the wall, you can paste the LED light strip. First tear off the cover on the 3M glue behind the light strip, and then paste it to the position you want.
Step 3. Connect the power supply
You can connect the soldered LED strip to the power supply. You need to choose a power supply with the same voltage and sufficient power. Then you should see the LED strip light up.
Step 4. Light up the LED strip and fix it
When you make sure everything is done, you can light up the LED strip and fix it if everything is OK. But if you find that the LED strip still does not light up, please check if there is a connection problem. If the setting is OK, it means that the strip may be damaged during the cutting process, so be careful and always cut according to the markings on the strip.
Conclusion
By cutting, connecting, and installing LED light strips as normal, you can meet your customization needs. Whether you are adding accent lighting, cabinet lighting, or creatin a custom fixture, the flexibility and versatility of LED light strips make them a great choice for any lighting project.
So when you need a custom and cut LED strip lights length, pick up your scissors and get ready to light up your world with the versatility of LED light strips!
FAQs
No, you cannot cut the LED strip to any length. The LED strip has designated cutting points, which are different for 12V and 24V. You need to follow the scissor icon or line on the PCB board, and you can only cut along these points to ensure the functionality of the LED.
If you are cutting normally and follow the manufacturer’s instructions, cutting the LED strip at the designated cutting points will not affect its performance. But improper cutting or not following the designated points may damage the circuit and cause parts of the strip to stop working.
Yes, you can reconnect the LED strip after cutting it. You can choose to use an LED strip connector or solder wire to reconnect the cut pieces. Also, when connecting, always make sure to match the positive and negative correctly to maintain the circuit.
If you cut the LED strip in the wrong place, the other part of the LED strip will not light up. It may damage the circuit and cause the strip part to malfunction or stop working completely. Always cut at designated cutting points to avoid this problem.

